This is a guide on the whole pipeline used for utilizing Descriptive SVG/dsvg
dsvg is a proof of concept technology for easily adding the ability to describe sections of images
IMPORTANT: The Inkscape GUI may be slightly different for you, if you run into difficulties see if you can figure out what to do based on the steps I take and if you need more help check the Inkscape Learn page: https://inkscape.org/learn/
Requirements
A quick note on requirements
While I list Inkscape here this is just what I feel I can personally recommend, everything required for a descriptive svg can be accomplished in other programs and even in a text editor if you know how to handle xml
Note though that you may need to modify the Javascript as it is in this proof of concept if you use another program
- Inkscape, a cross platform FOSS vector editor
- dsvg.css
- dsvg.js
- A raster image you'd like to describe
Creating the SVG
Launch Inkscape
Open the image you'd like to describe
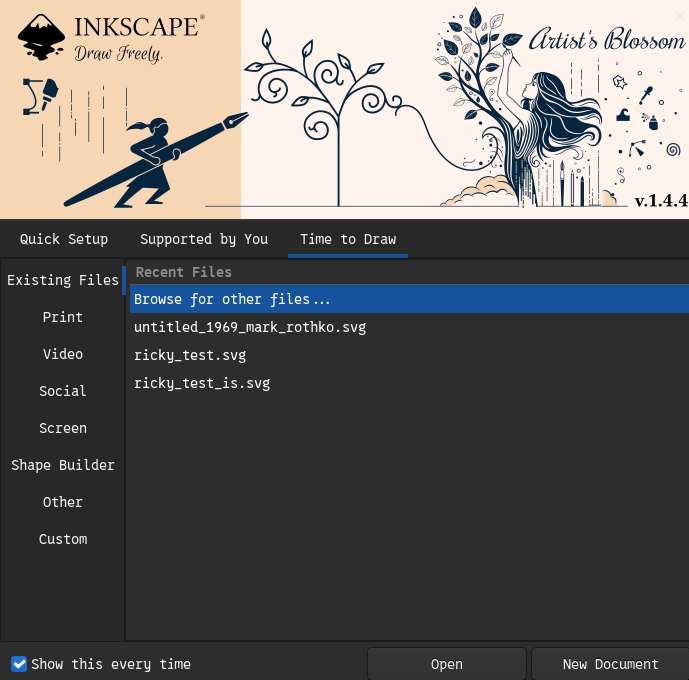
First click the Open button
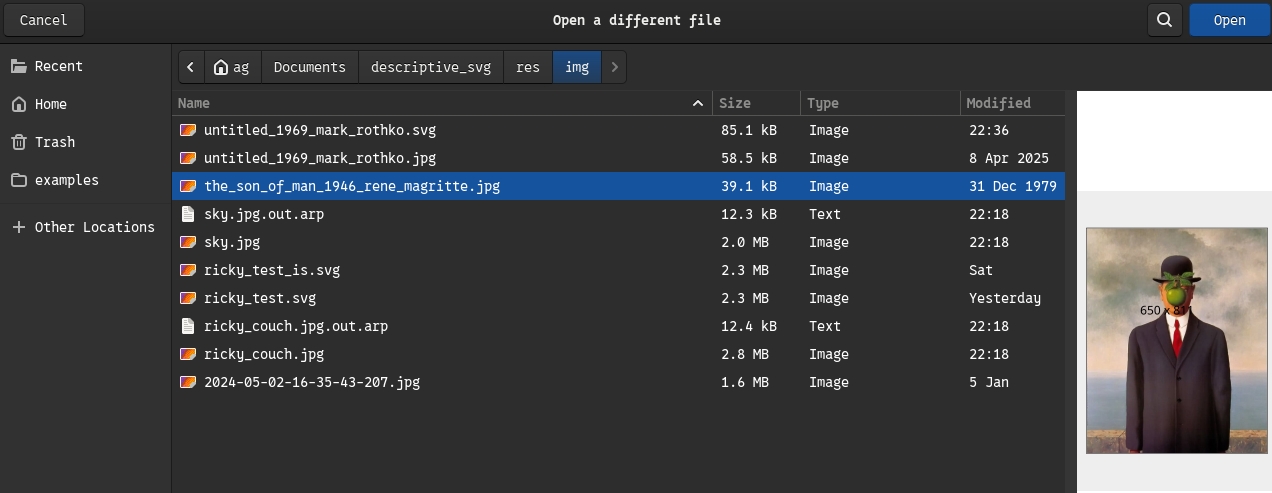
Next navigate to and choose your image in the file browser, once you've done this click Open
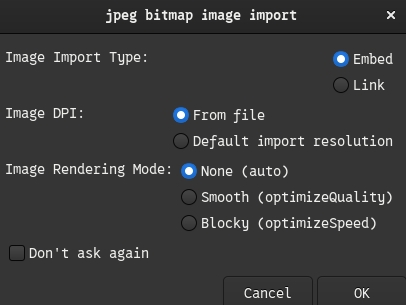
Next make sure to choose to embed the image, the other options are up to your taste but leaving them on default should cause no issues, once you're done, click OK
Add your section
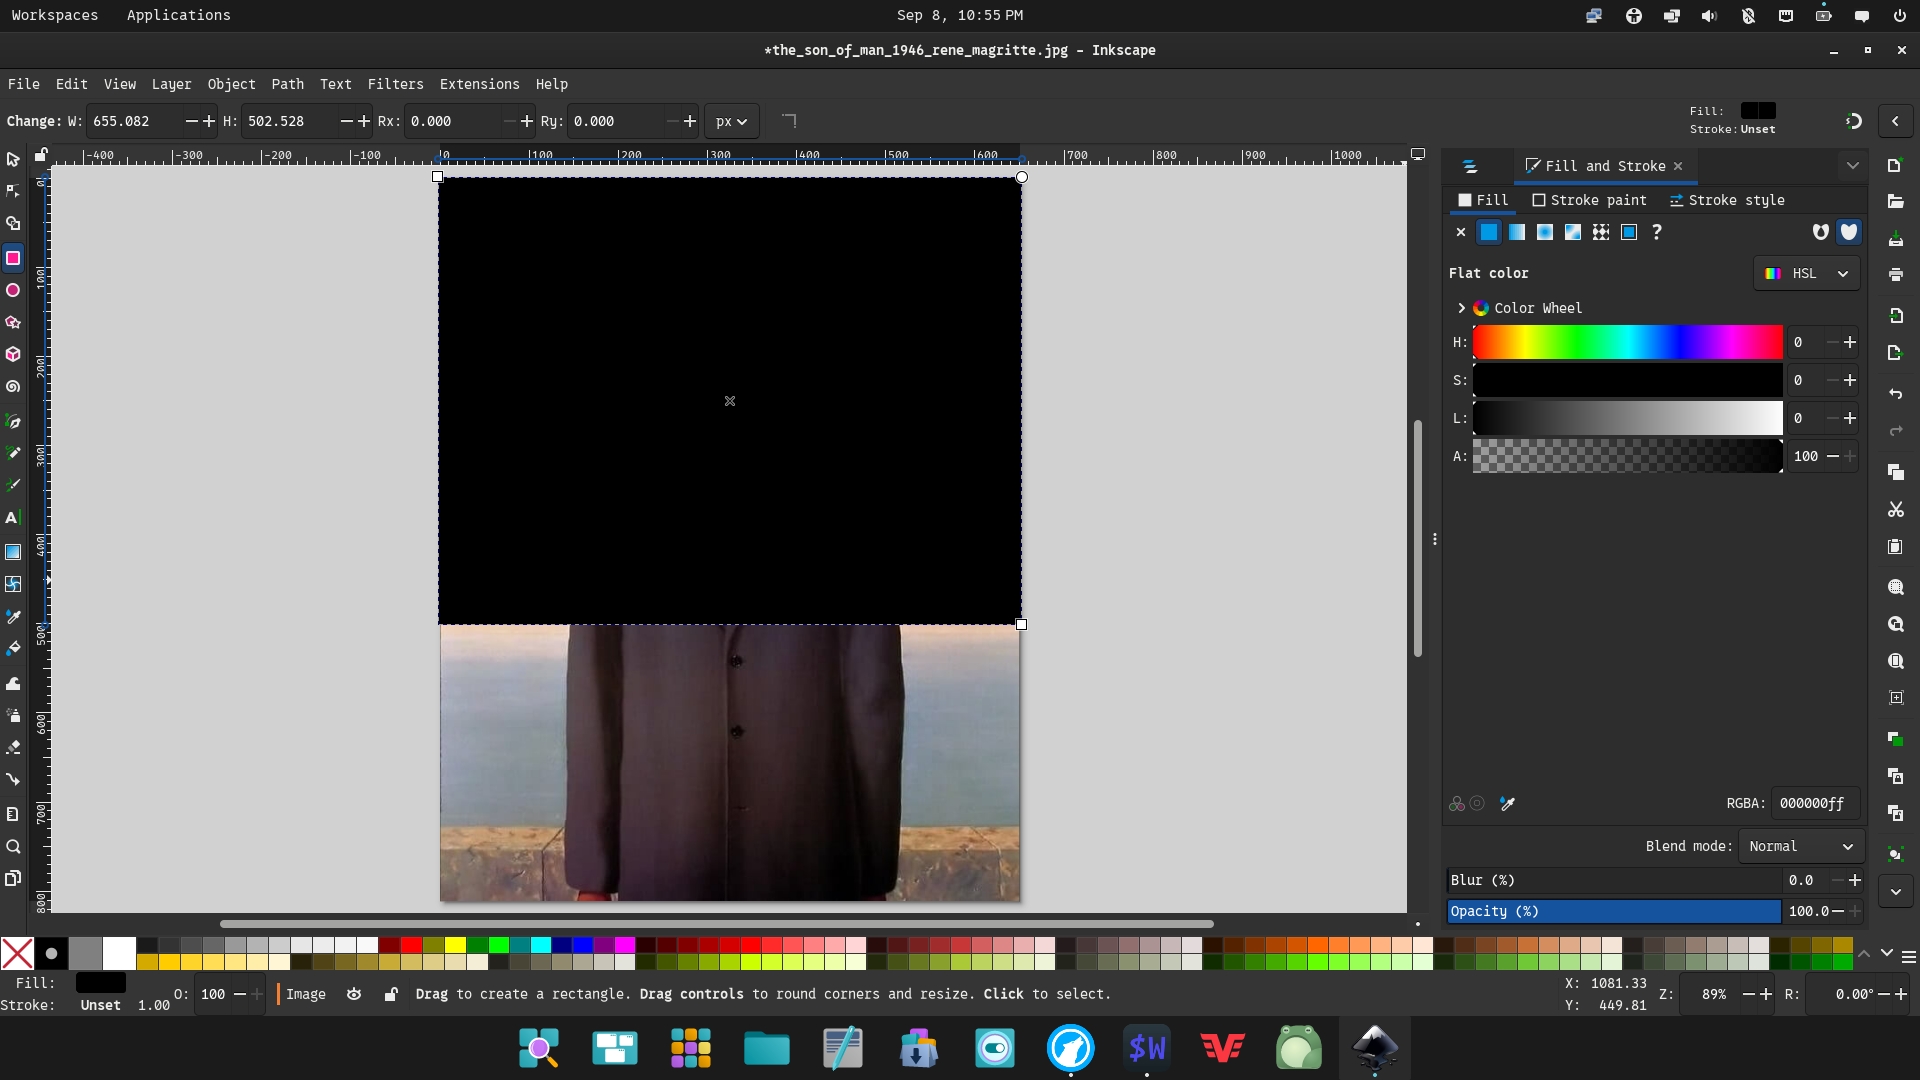
Now you'll want to draw an element over the section you want to describe, Inkscape has multiple tools for this, for now we'll use the Rectangle tool and draw a section that will be used to describe the background
Well, now we can't see anything.
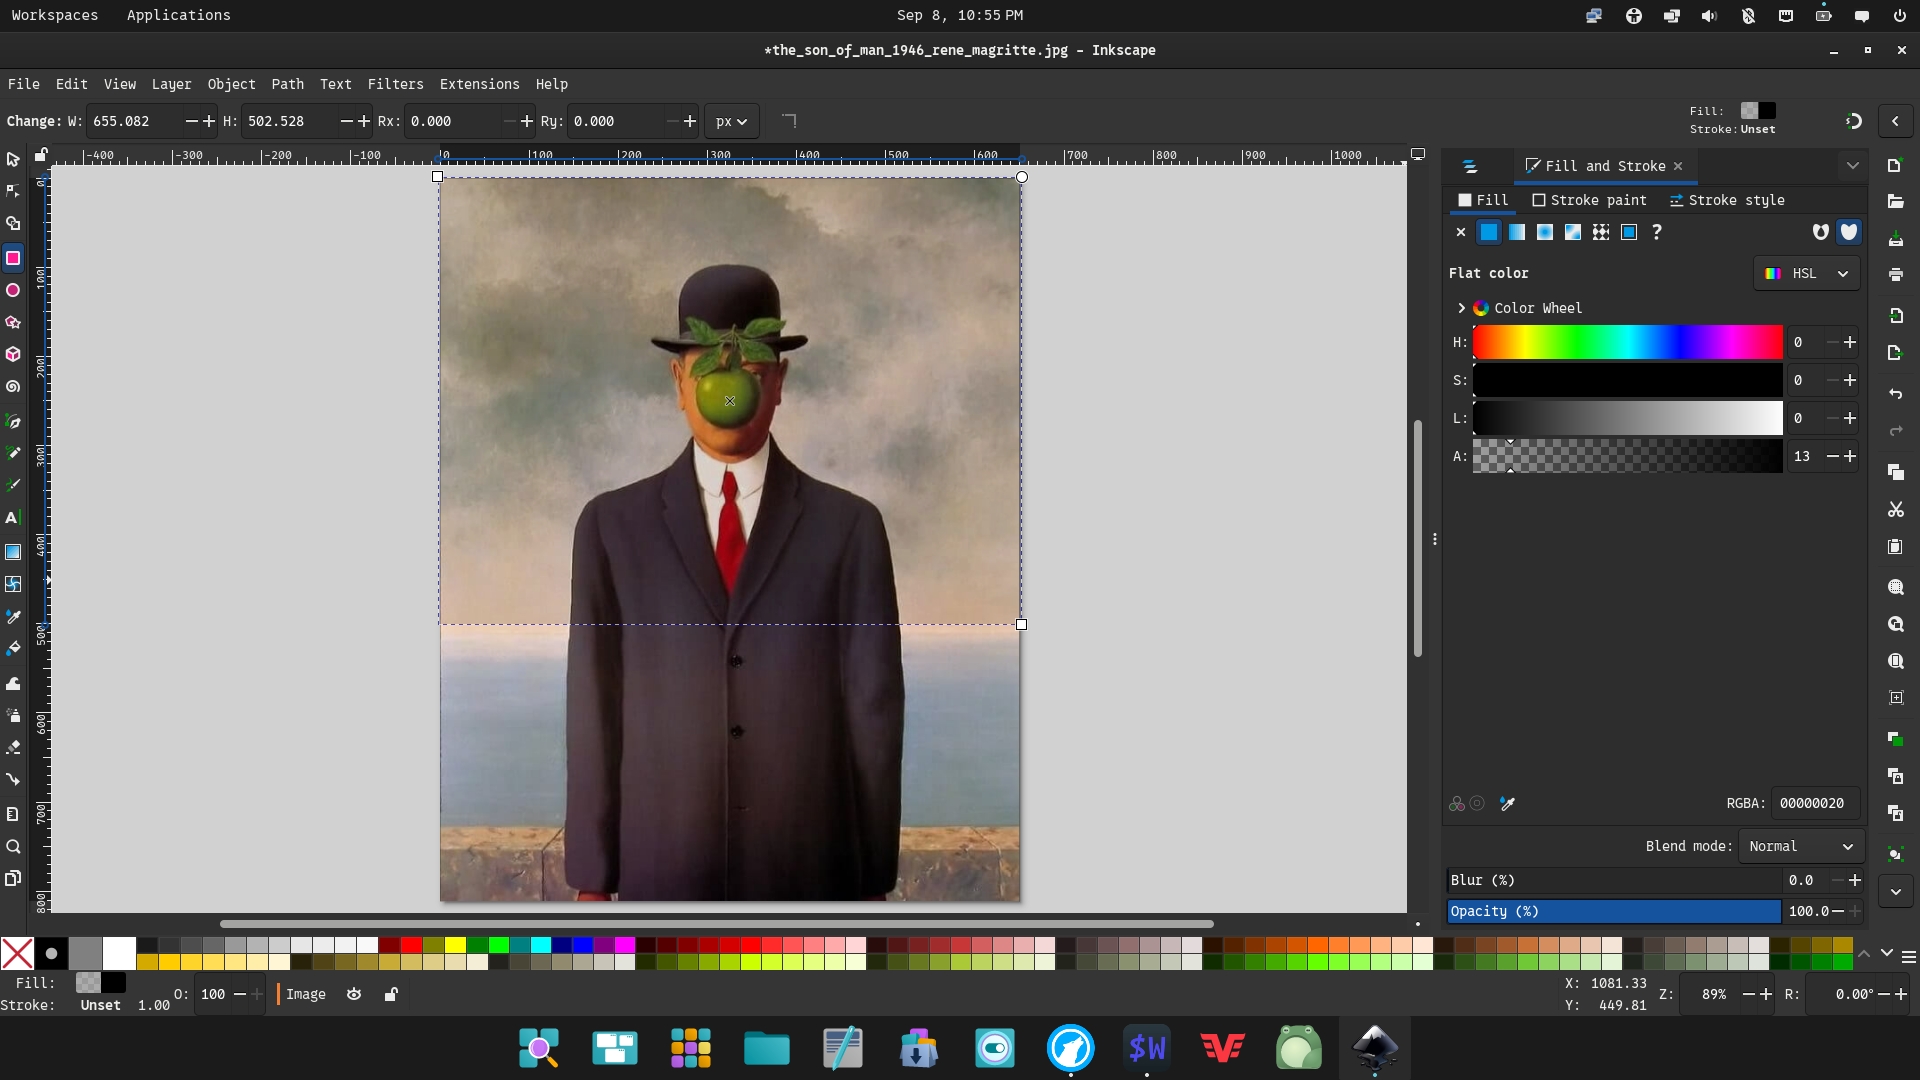
Let's drop the transparency in the Fill menu a bit
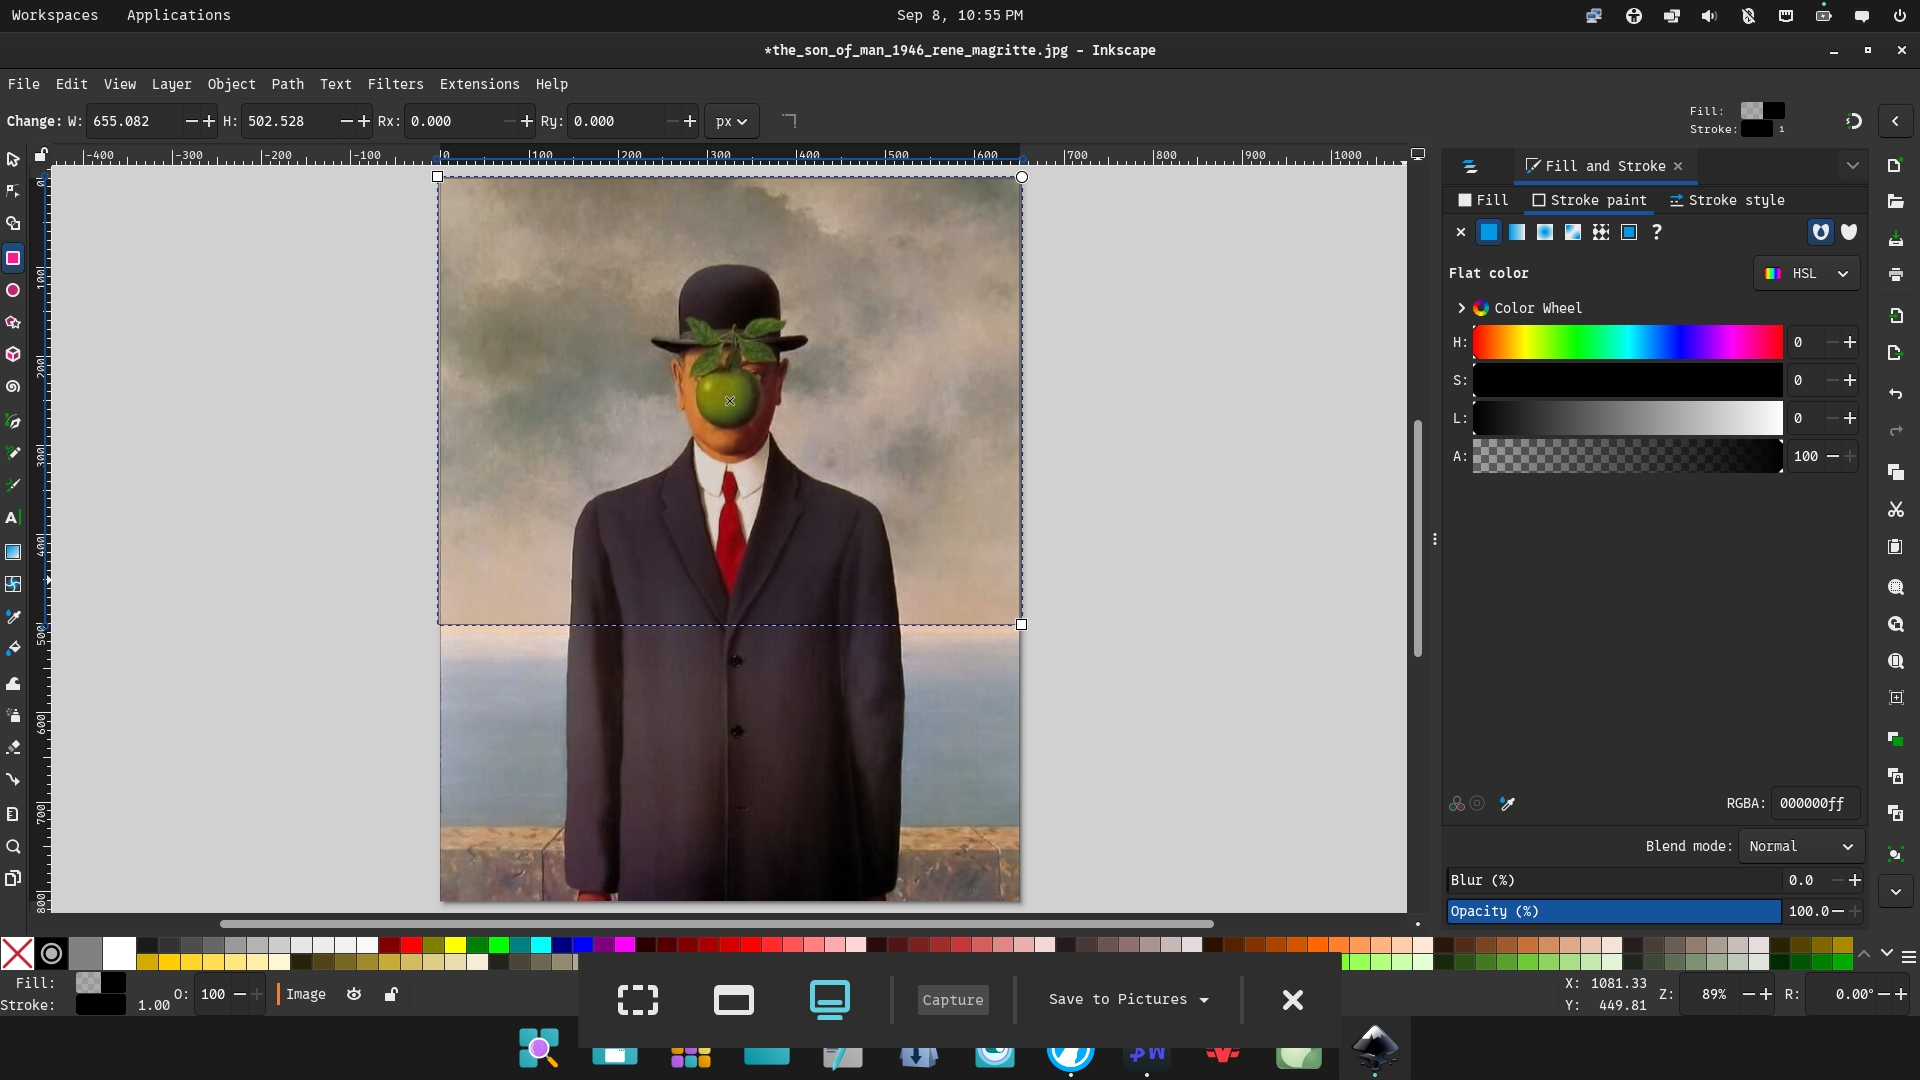 To make the boundaries a bit more clear let's also add a stroke to the section in the Stroke paint tab
Add your data
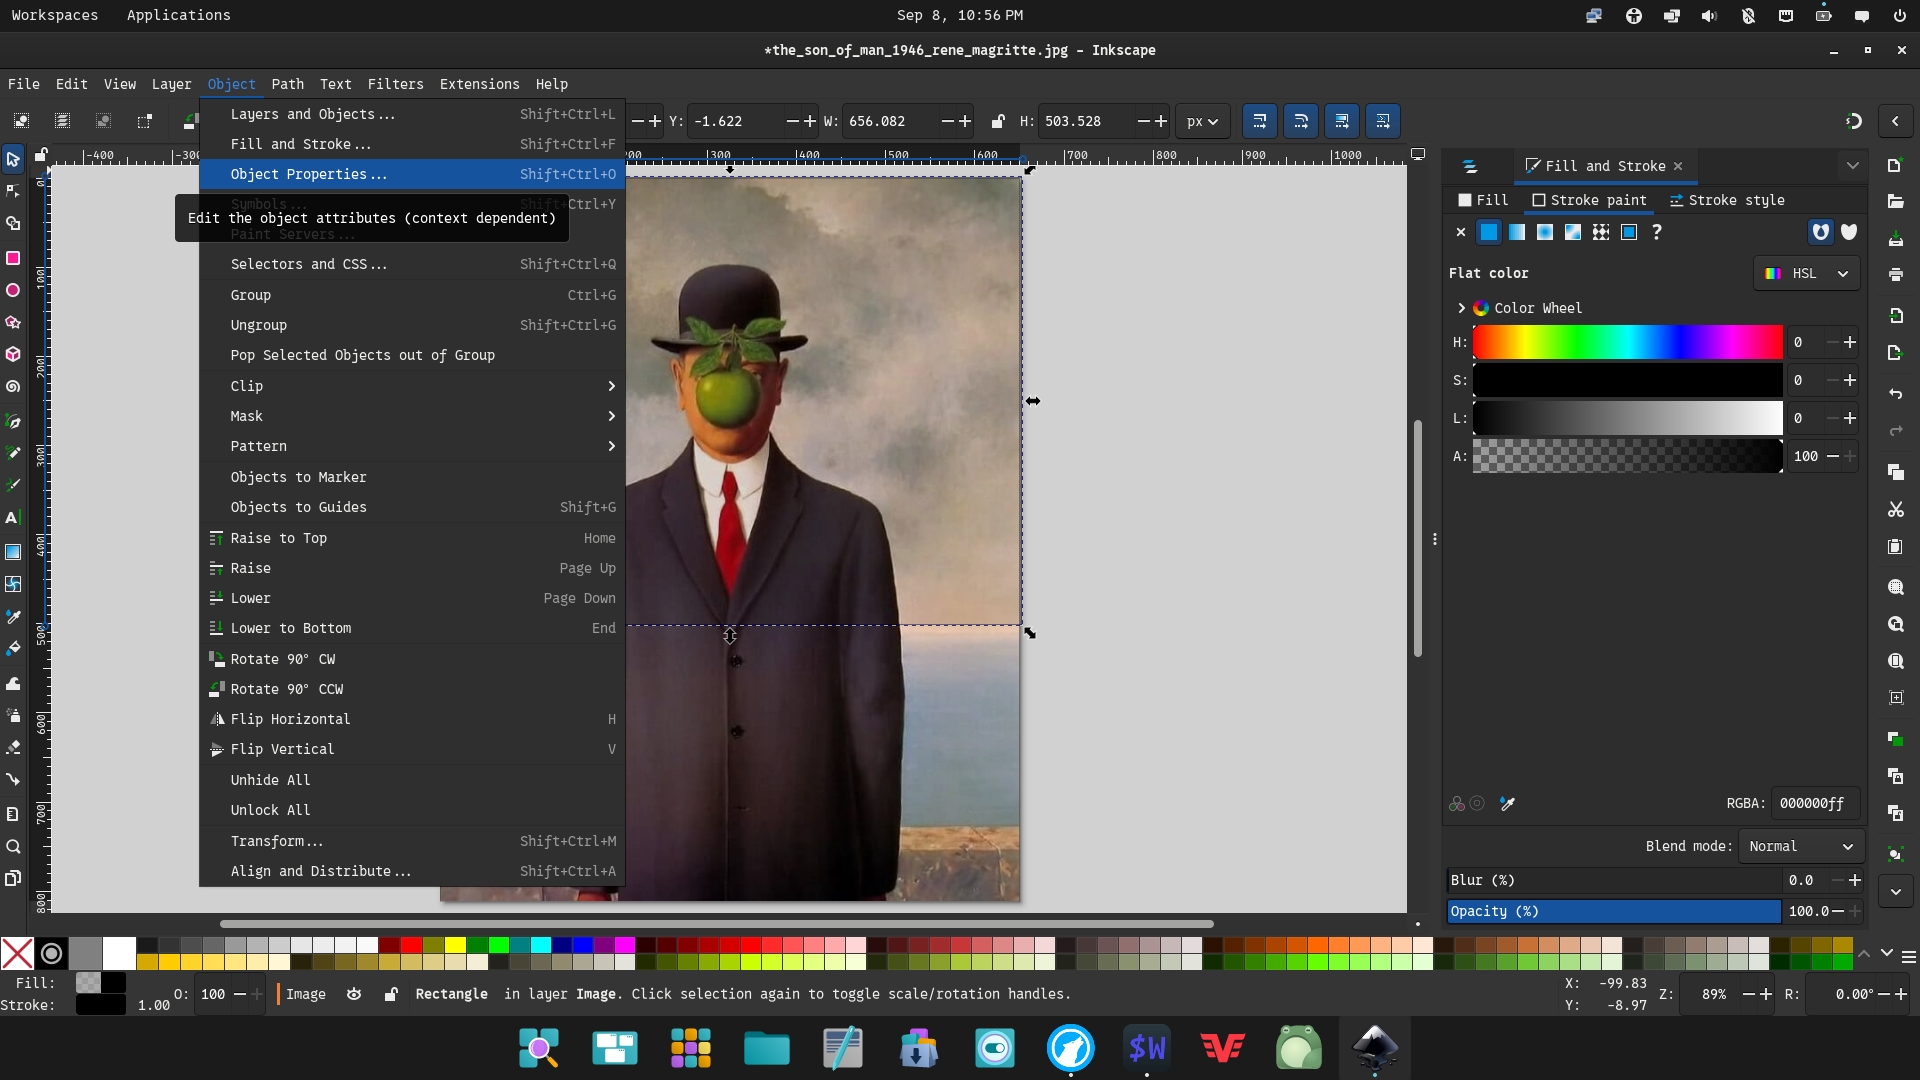
Now we need to add some data to the section, first let's open up the Object properties menu
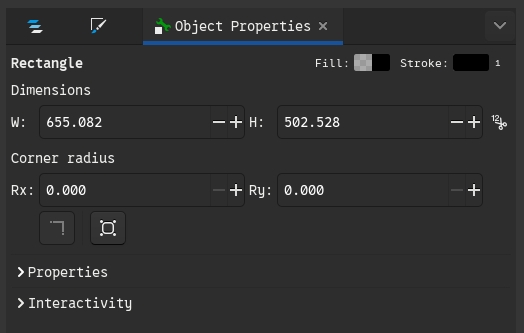
In the Object Properties Menu which will be displayed in the same panel as the Stroke options we worked with earlier needs to have the Properties section clicked so we can add our data
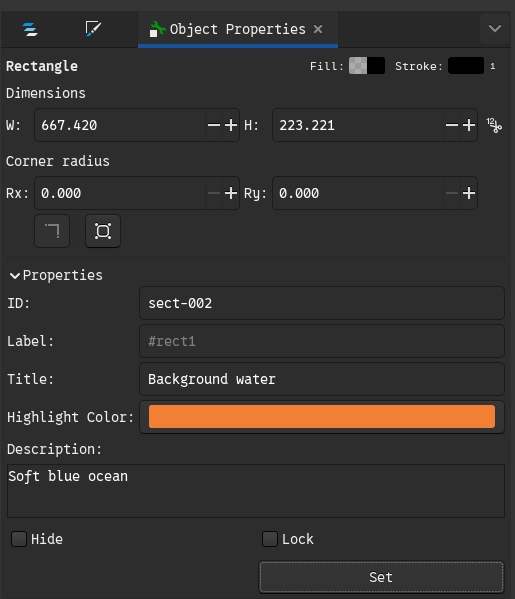
Now depending on the section you have created you will want to set an ID that starts with sect- and ends with a 3 digit count of the section, meaning that if this is the first section it should be labeled sect-001.
Next you'll want to decide on a Title and Description, note that these will be vital so really put some thought into it.
After you're done click Set.
Wrapping up in Inkscape
Well, earlier we made a mistake, a black overlay will not cooperate with our CSS code in a little, due to it recoloring using a hue shifting filter, so we need to adjust it.
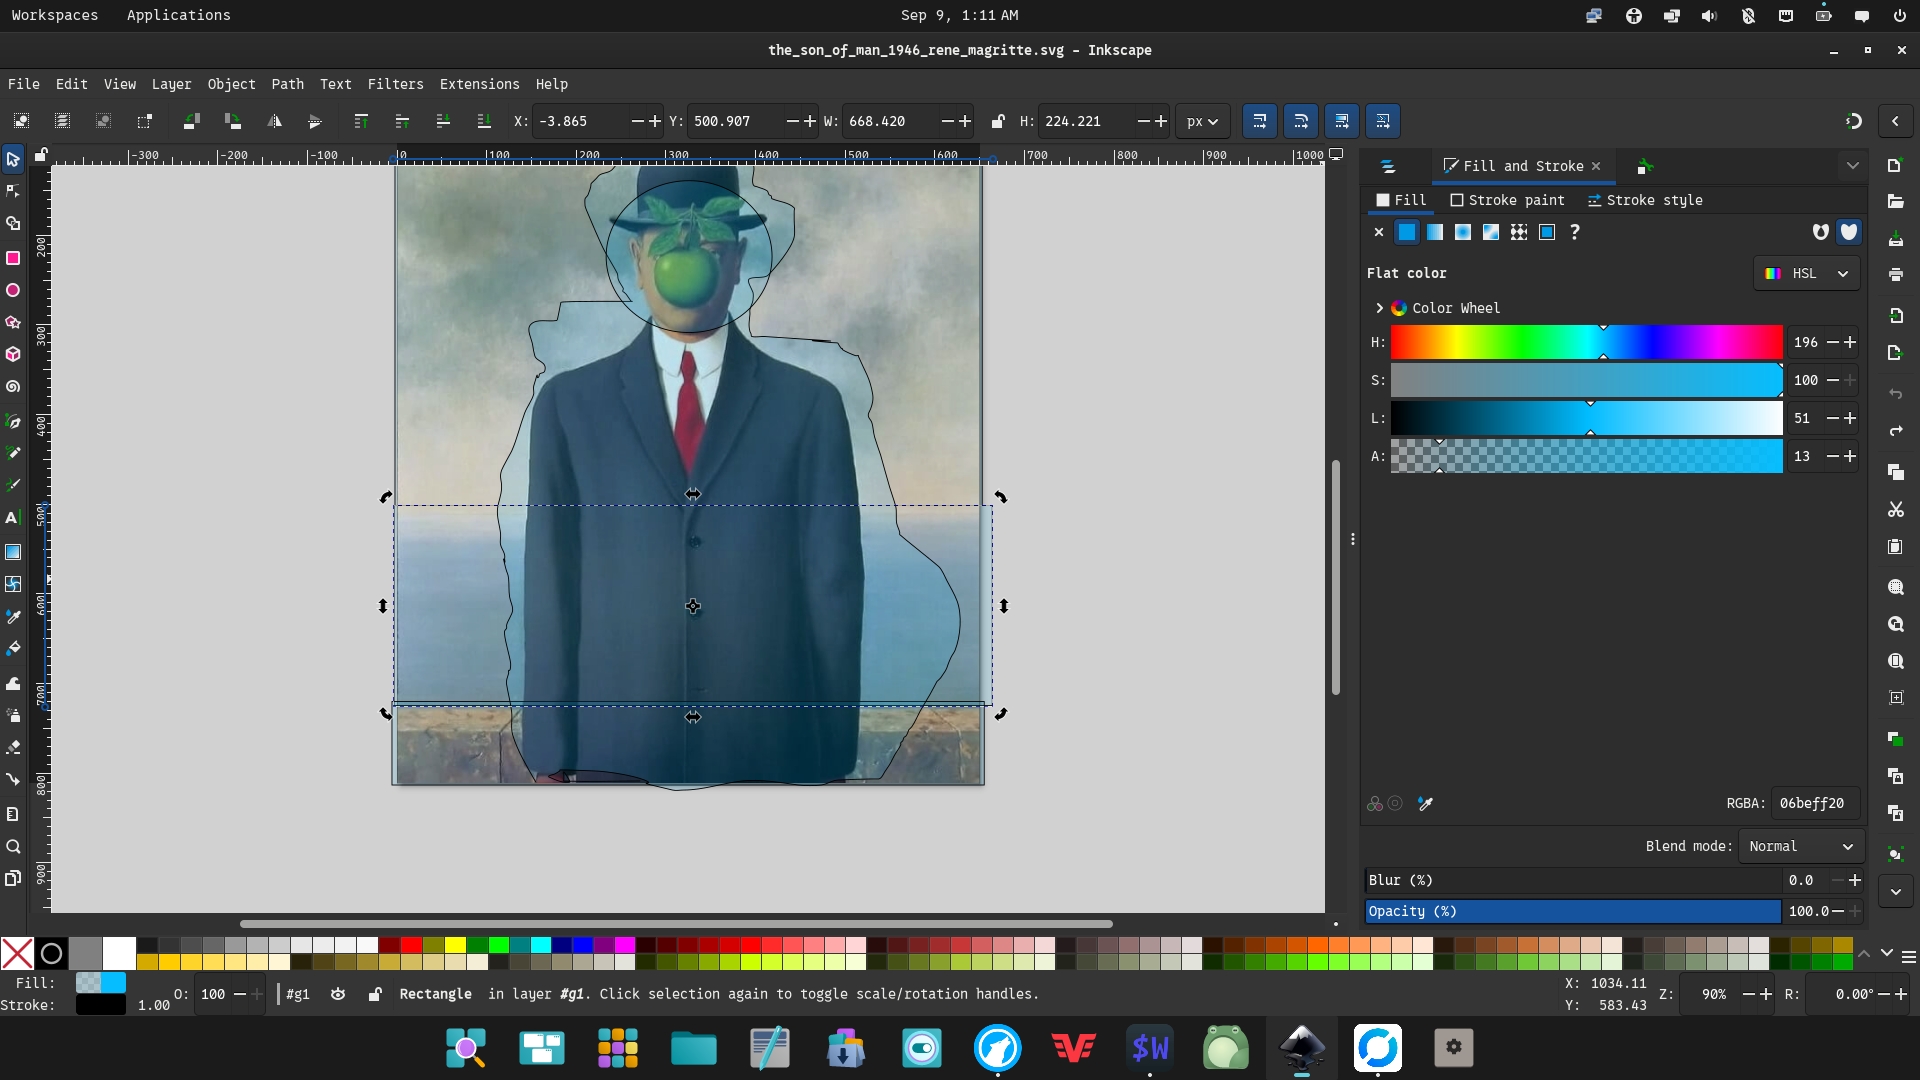
That's better, blue will hue shift better and give a more distinct visual effect for some users
Let's look at another example real quick
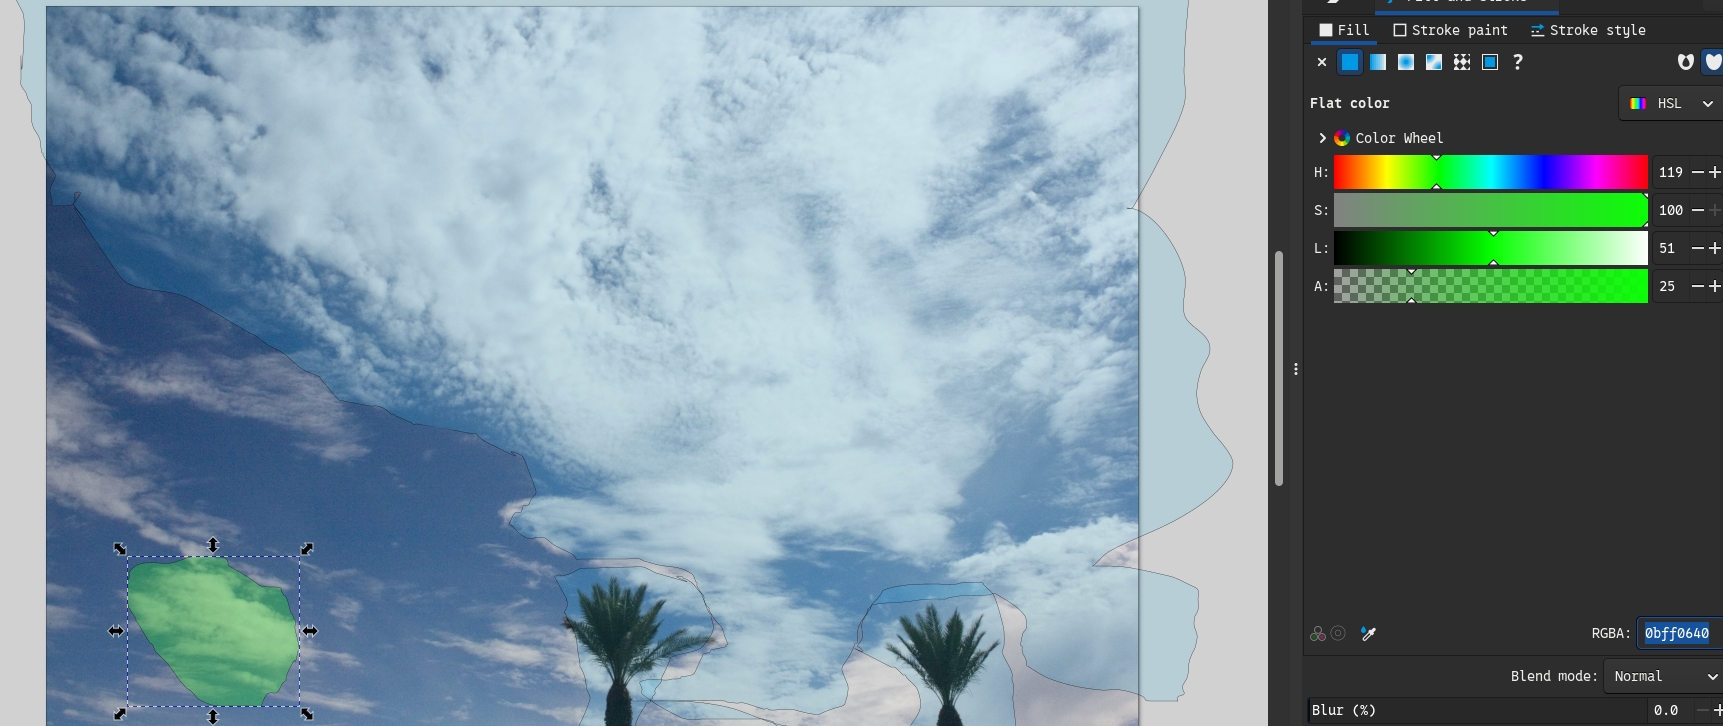
Here we made the mistake of making some of the overlay blue which makes it hard to make out the sections initially, changing it to green easily fixes this
Finally let's export
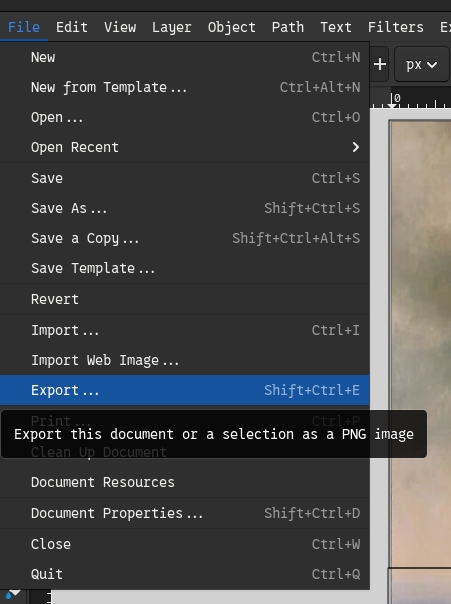
Click File > Export
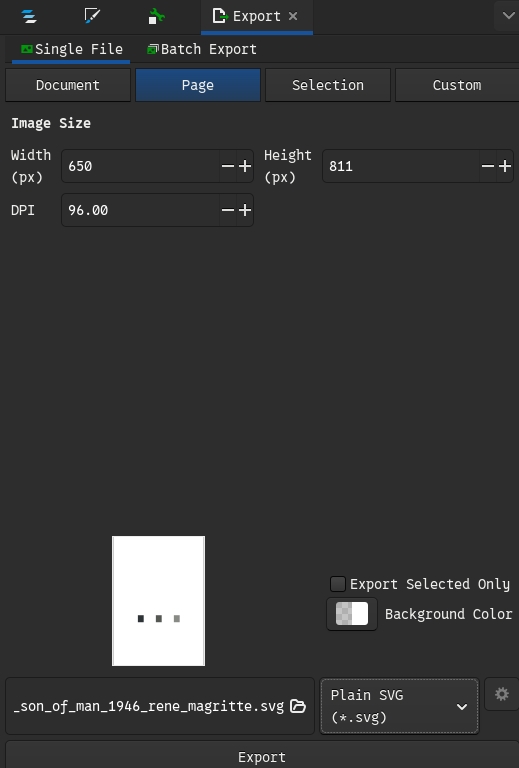
Select Page in the menu that appears on the right, then choose Plain SVG it should autoname the output based on the original filename but if you want to change it or the output location click the Folder icon next to the filename. When you're done click Export. This may take a second but Inkscape tells you it's rendering at the bottom of the screen and once this message is gone your SVG should be ready.
Using dsvg
Resources
How to
Once you've downloaded dsvg.css and dsvg.js you'll want to include them in the head of your page like this:
  <link rel="stylesheet" type="text/css" href="res/css/dsvg.css">
  <script src="res/js/dsvg.js"></script>
Note: The locations can be wherever you desire but make a note of the css location for a later step
Next you'll want to add your SVG, this can be done like so:
<object class="descriptivesvg" type="image/svg+xml" data="res/img/ricky_test.svg"></object>
Note: the class descriptivesvg is required
Finally you'll want to set your page to run the SVG setup function after the rest of the page loads, we do this by adding this code just before the close of the body tag:
  <script>
    window.onload = (event) => {
      dsvg_load("res/css/dsvg.css");
    };
  </script>
Note: replace the argument in dsvg_load with the path of your dsvg.css from earlier
Now you should be ready to go, if you have issues you can ping me at me@agie.gay